Survey + Slope-IQ™
Survey and design with Slope-IQ™
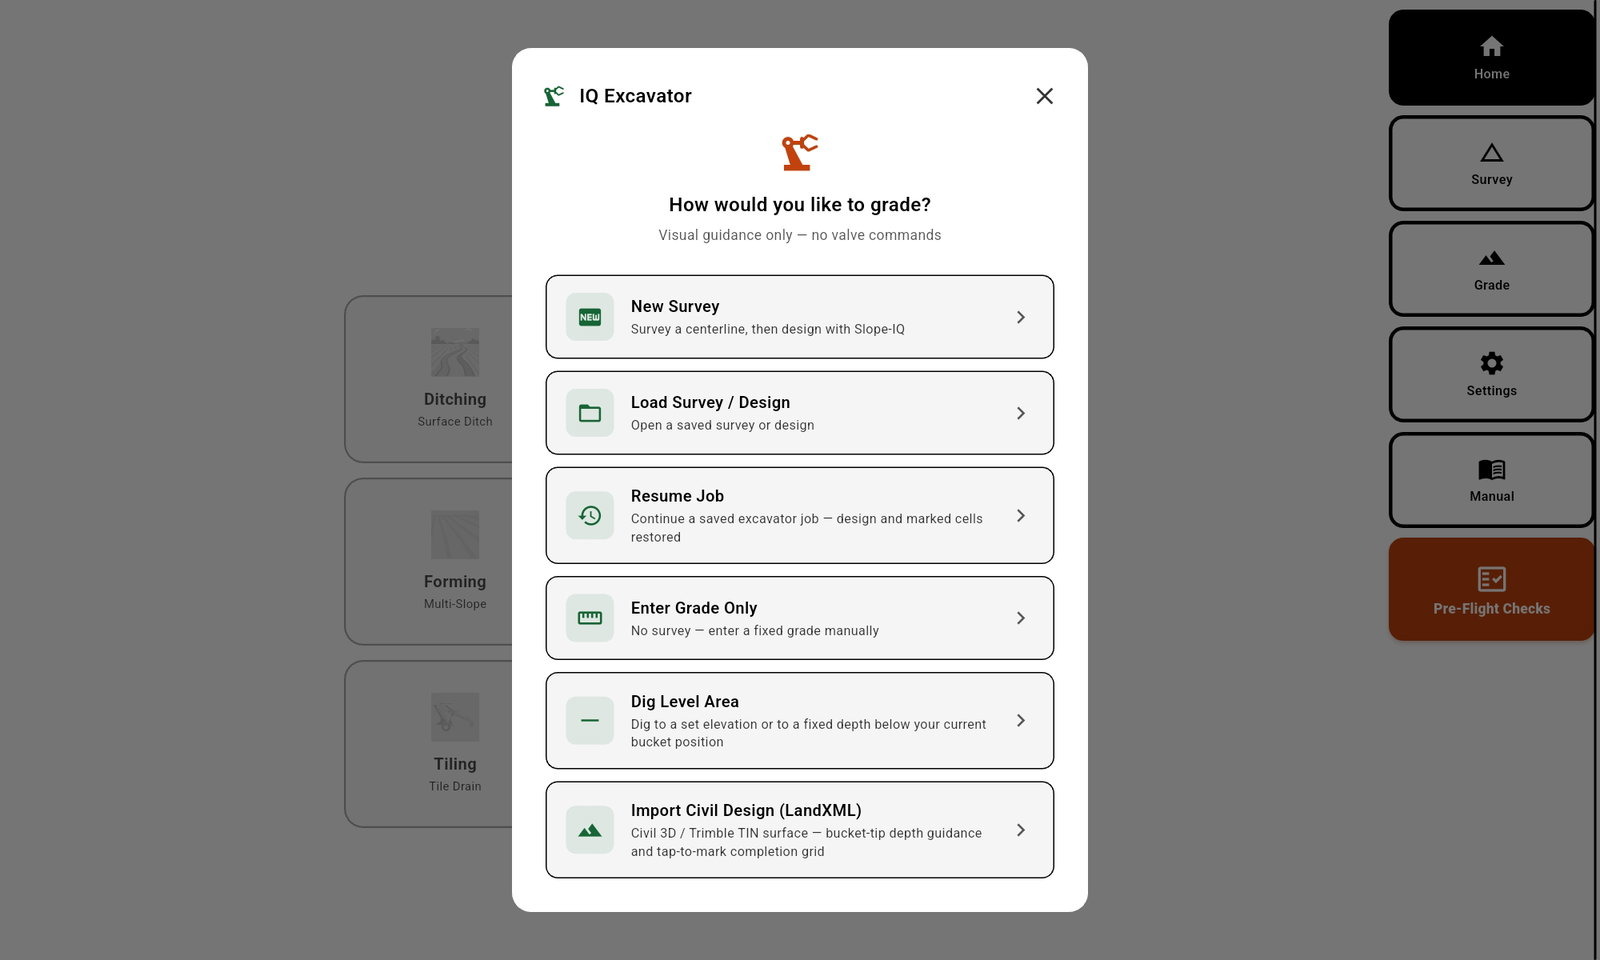
Record the proposed route with the excavator, or move the rover to an ATV or UTV and survey over Bluetooth, then turn that data into a Best-Fit, Guided, or Freeform trench design. If a previous survey is loaded, the operator starts this same process at the Slope-IQ™ design screen.
What this walkthrough covers
This DIG™ walkthrough shows how an operator records a proposed excavation route, verifies RTK accuracy, saves the survey, confirms water-flow direction, sets minimum grade, and creates a Slope-IQ™ trench design.
- 1. Survey with the machine or rover Use the excavator itself, or move the RTK GPS receiver to a vehicle or ATV and connect to it over Bluetooth from the Ditch Assist app.
- 2. Verify RTK before recording Confirm the Ready to Survey screen shows connection and RTK accuracy before tapping START SURVEY and driving the proposed route.
- 3. Record the route Survey straight or curved routes in either direction. For wider cuts, drive the survey along the center of the planned excavation path.
- 4. Save and orient the survey Stop at the end of the route, save the survey with a custom name, and confirm or change the intended water-flow direction.
- 5. Set minimum grade Enter the minimum grade used by Slope-IQ™ to enforce drainage in Best-Fit and Guided designs. This can still be changed later inside Slope-IQ™.
- 6. Use Best-Fit design Let Ditch Assist follow existing ground where enough natural slope exists, then create minimum-grade cuts where the ground does not meet the target.
- 7. Adjust design parameters Review depth offset, minimum grade, bottom width, side slope, cut-volume estimate, and minimum/maximum depth limits.
- 8. Compare Guided and Freeform Use Guided to anchor the design to selected ground points, or Freeform for manual control when the operator wants to shape the profile directly.