Keep the pipe flowing
Design the run with positive grade from the head of the line back to the outlet, with no intentional backslope.
Ditch Assist turns centimeter-level RTK positioning into grade control and guidance for field machines — one kit, one Android tablet, any compatible RTK source. Tiling is an included workflow. Buy the kit for this job and every other surface workflow comes with it — surface drainage, terraces, land forming, single-grade work, levees, leveling — at no extra cost, no per-mode activation. Most tile plows take the Full Automation Kit; a plow with a compatible factory PWM valve can use the Guidance Only Kit instead. Ditch Assist Lite runs Tiling too, as guidance: only a GPS on the implement, no wires, and you raise and lower the plow yourself to the target on the screen. Ditch Assist Lite has no upgrade path: automating later means buying the Full Automation Kit at full price, with no credit for Ditch Assist Lite.
Tile needs positive grade, enough cover, and a profile the plow can actually reach. Tiling mode treats minimum grade, target depth, minimum depth, and maximum depth as hard design constraints. Ditch Assist computes the Required Start Depth at the outlet and shows the planned pipe as a black line on the chart, so the install target is clear before you start pulling.
Tiling is a single-pass workflow: survey, design, drop in at the outlet, and install uphill. Automatic Rock Hit Recovery is enabled by default in Tiling mode and responds to sustained upward plow deflection, not one noisy GPS sample.
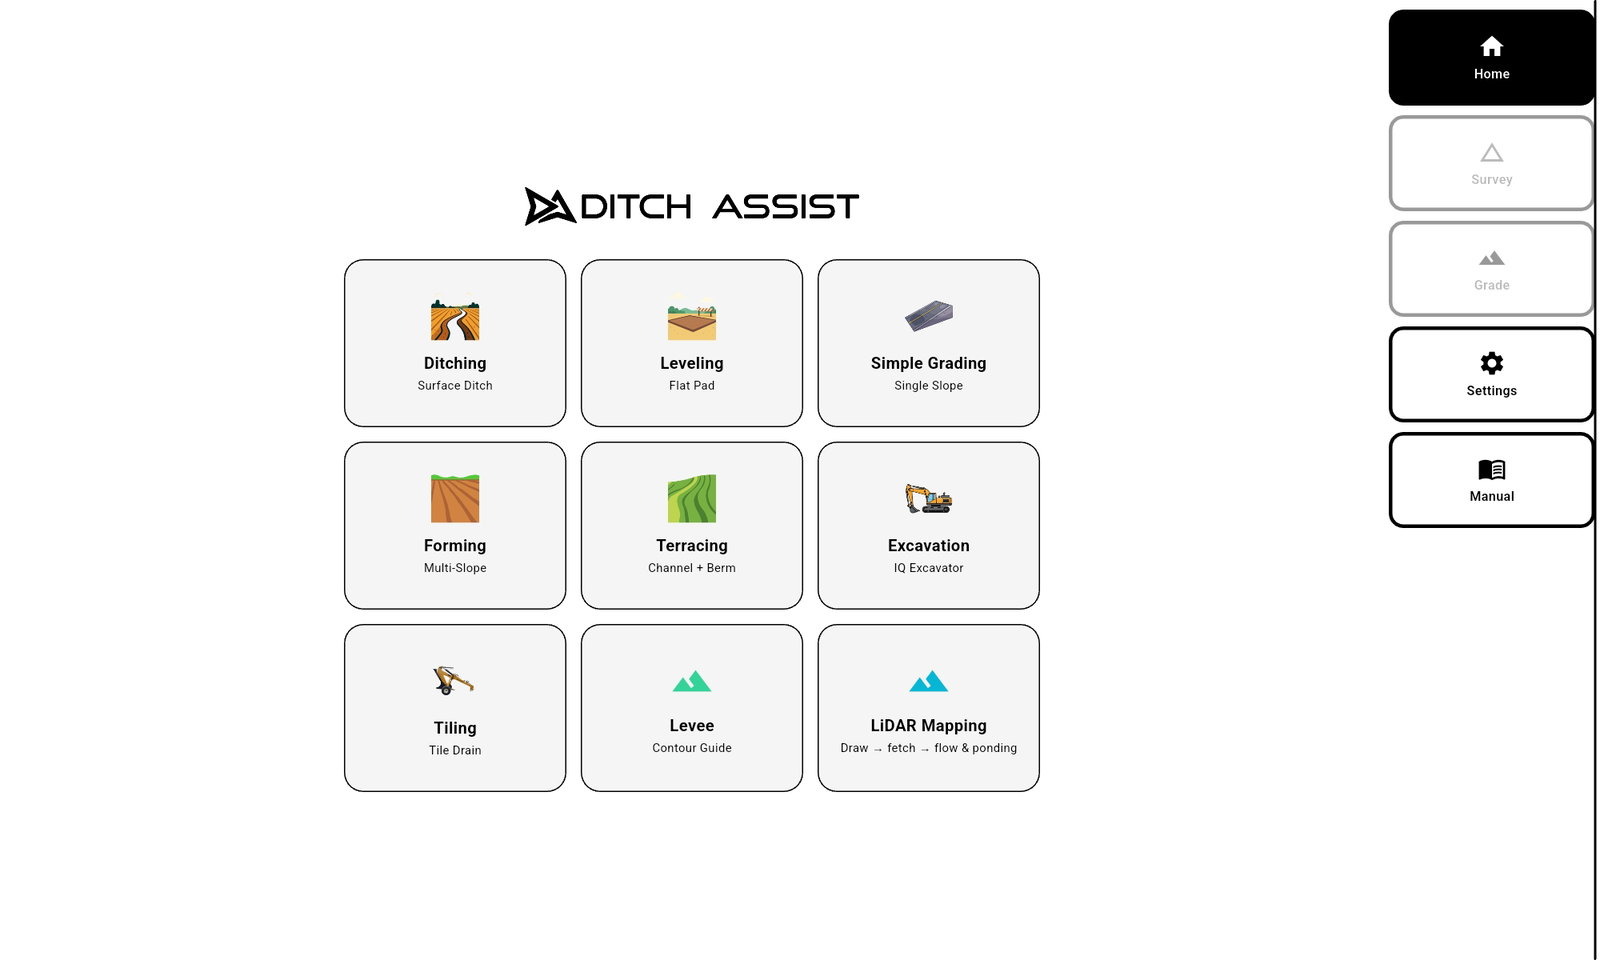
This is the in-app workflow an operator follows for a tile drainage run: run preflight checks, enter plow blade height, survey the proposed route, confirm flow direction, design with Tile-Best-Fit, lower to Required Start Depth at the outlet, install uphill, and let Automatic Rock Hit Recovery handle sustained ride-up.
Confirm module, GPS, and hydraulics, then enter the raised transport blade height so survey elevations become true ground profile.
Run a new survey, confirm inlet and outlet direction, set target depth and minimum grade, then review Tile-Best-Fit depth limits and Required Start Depth.
Lower to the required outlet depth, tap Start, watch the actual install path, and let Ditch Assist nudge the target when sustained plow ride-up is detected.
This walkthrough follows the complete Ditch Assist Tiling workflow for surveying, designing, and installing a tile drainage run.
Before Tiling, confirm the tablet, control module, RTK, hydraulics, and plow blade-height setting. Blade height matters because the survey assumes the plow is fully raised in transport position.
Subsurface drainage is unforgiving: a line that gets too flat, too shallow, too deep, or chased back down after sustained ride-up can hold water. Tile-Best-Fit gives the operator the target before the plow goes in the ground.
Design the run with positive grade from the head of the line back to the outlet, with no intentional backslope.
Hold cover where you need it and stay within the physical reach of the tile plow.
The design gives the outlet start depth up front, so the operator knows where to drop the boot before tapping Start.
When the plow rides above target and stays there, Ditch Assist applies a bounded target nudge and shows a Rock Hit alert so the controller does not dive back toward the original target after the ride-up.
Down is not the same as up in tile — an overcorrection downward can cut a belly that no second pass can fix. Ditch Assist eases the plow back to grade instead of slamming it down, so raising stays fast while lowering stays gentle, with no extra pitch sensor to buy or maintain.
Create the design, nudge up 6″, and pre-rip to loosen deep installs or rocky areas. Then nudge back down to design grade and install tile into a fresh-cut support channel.
Use saved LiDAR, surveys, point files, or GeoTIFF DEMs to generate contour guidance for tile routes that follow natural field shape.
Cache imagery and saved LiDAR DEMs ahead of time so contour generation and tile design can work at the field without internet.
The same Ditch Assist kit can run tiling, surface drainage, terracing, land forming, pads, and single-slope grading.
Use Ditch Assist with any compatible RTK GPS source, or start fresh with an affordable Emlid Reach bundle.
Survey the run, confirm water-flow direction, let Tile-Best-Fit solve the depth-constrained design, then plow uphill from the outlet. If an obstruction forces sustained plow ride-up, Automatic Rock Hit Recovery nudges the tile target up by the measured error.

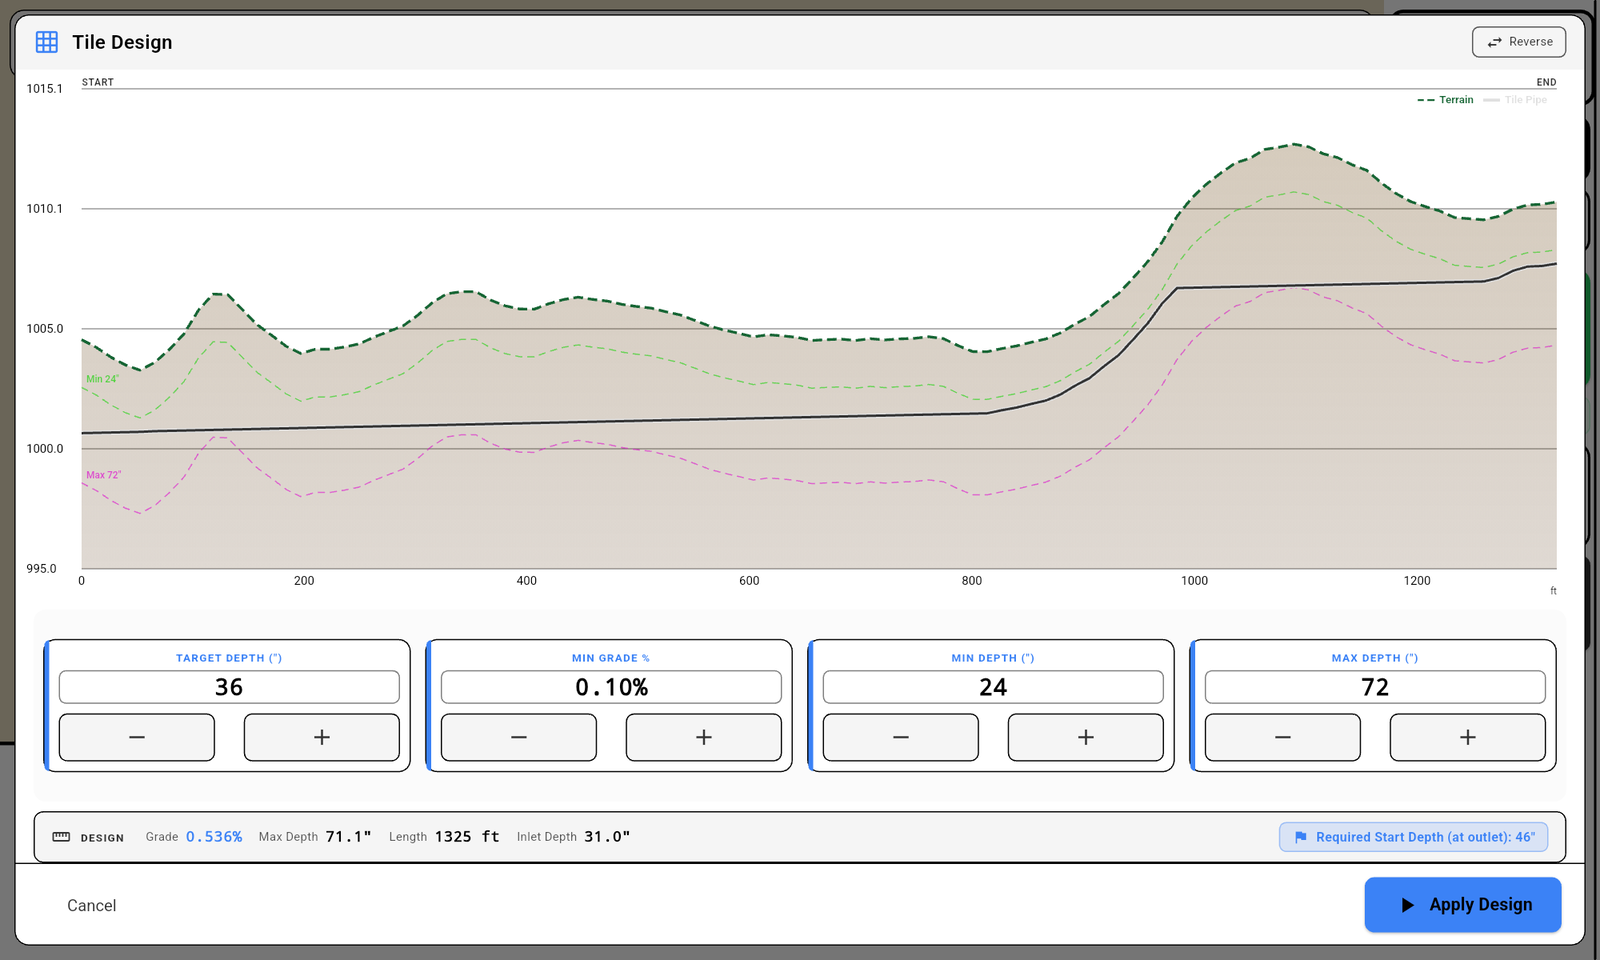

Depth-constrained design with ride-up recovery. Built specifically for tile.
Tile-Best-Fit designs the line for every survey: it fits the tile inside your depth window, holds your minimum grade across the full length, and keeps the line inside the plow's reach. If rock or hardpan forces the plow up and it stays above target, Automatic Rock Hit Recovery raises the target by the measured amount, up to a safety limit. Prefer to draw the line yourself? Guided and Freeform design tabs let you pin the tile through chosen points or shape it vertex by vertex — with amber and red cover shading flagging shallow or deep spans as you edit.
Tile only gets one pass, so Tiling mode treats down differently from up. Every other grading mode drives straight to target as fast as it's tuned, which is fine when an overshoot just costs another pass. In Tiling mode, the Descent Governor eases the plow back down to grade instead of letting it dive, working from the same RTK reference already on the plow — nothing extra to buy, mount, wire, or keep calibrated.
If the plow needs to settle back to grade, Ditch Assist brings it down smoothly in small steps instead of one hard correction — keeping the boot from nosing down and cutting a belly below your design.
Whether you're creeping through tough ground or pulling at a normal pace, downward corrections are paced the same safe way. Typical tile minimum grades are only a fraction of a percent, so your normal designed drop runs at full speed — only a dive-style drop gets eased back.
Ditch Assist freezes the target when the tractor stops — the controller won't drive the plow deeper while you're sitting still.
When the plow rides up over rock or hardpan, Automatic Rock Hit Recovery raises the target so the controller doesn't chase back down and cut a belly. Any other time the plow needs to come down, the Descent Governor eases it down to grade instead of letting it dive.
Tile installs uphill from the low outlet end, so Ditch Assist warns you if you try to start in the inlet half of the run. The Required Start Depth check also keeps you from starting until the boot is at proper depth.
Ditch Assist reads grade straight from RTK elevation at the cutting edge, from the outlet to the head of the line. Tile-Best-Fit designs positive grade end to end, the Descent Governor described above eases the plow back to grade, and Automatic Rock Hit Recovery handles ride-up. Nothing extra to mount, wire, or recalibrate on the plow.
Ditch Assist reads grade from RTK for the whole run, so a solid base station, correction service, and antenna mount matter even more here than in other modes. Check all three before you start a tile run.
Ditch Assist mounts the RTK receiver right where the plow cuts, so grade is measured directly at the boot — the point that sets the tile.
Tile-Best-Fit only ever designs positive grade, end to end — there's no planned low spot in the line for the controller to chase downhill toward in the first place.
Hydraulic response is tuned for smooth, controlled movement instead of aggressive snaps to target, and Automatic Rock Hit Recovery handles the classic dive trigger — rock or hardpan ride-up — by raising the target instead of chasing it back down.
Tiling mode is aimed at pull-type and tractor-mounted tile plows that control depth through pitch, cantilever, or direct raise/lower hydraulics. Most plows take the Full Automation Kit: our valve goes on the plow and Ditch Assist controls the depth. A plow that already has a compatible factory PWM valve can take the Guidance Only Kit instead: it plugs into that valve and Ditch Assist controls the depth through it, with no valve to add. Pick yours below for setup and compatibility details.
Some tile plows, like the Soil-Max Stealth ZD, ship with a compatible factory-installed PWM hydraulic valve — on those you only need our affordable Guidance Only Kit. No second valve, no plumbing, no manual-bypass circuit to wire. The Guidance Only Kit's control module plugs into the existing valve and drives the plow's pitch automatically as Tile-Best-Fit calls for depth changes. The tablet shows the active design line and the Required Start Depth at all times. Most plows don't have a compatible valve; contact us to confirm yours.
Ditch Assist also sells and supports Soil-Max in Western Canada through Northern Plains Drainage Systems, so you can sort out the plow, tile, GPS, and grade control with one company.
Tile-Best-Fit handles the design heavy lifting: minimum grade enforced end to end, depth held inside your min/max window, Required Start Depth surfaced at the outlet. Automatic Rock Hit Recovery applies a bounded target nudge when sustained ride-up is detected, so the controller does not dive the plow back toward the original target after the ride-up.
Works with any compatible RTK GPS. Ask about the affordable Emlid Reach RS3 or RS4 if you're starting fresh.
Ditch Assist is designed for pull-type or tractor-mounted tile plows where depth is controlled by pitch or cantilever hydraulics. We confirm cylinder function, valve type, hydraulic flow, and bypass requirements before quoting.
Min Valve DC and Max Valve DC (duty cycle) settings in the app tune hydraulic responsiveness to the plow size and pulling tractor. Wi-Fi from the control module to the cab keeps the wiring light, and the kit moves between machines in as little as 20 minutes — the same kit can run the tile plow this week and the scraper next week.
If your plow has an existing aftermarket valve, call first to confirm compatibility. Most plows without a compatible factory valve still need the Full Automation Kit, but a few proportional or PWM valve setups may be able to run on the Guidance Only Kit.
Tile-Best-Fit design, single-pass workflow, Automatic Rock Hit Recovery, Required Start Depth — all available regardless of plow brand. Works with any compatible RTK GPS; the Emlid Reach RS3 or RS4 is our affordable starter option.
Some plows, including certain hydraulic-tilt or raise/lower configurations, use direct control instead of a pitch or cantilever geometry. Ditch Assist can be reviewed for direct up/down installs, but the valve requirement must be verified with us first.
We have also made Ditch Assist work with some other hydraulic equipment in the past. Those installs are custom reviews, not published fitments: the machine needs a clear control goal, stable position reference, hydraulic response that fits the app tuning range, and a safe manual override or bypass path.
If your equipment is not listed, contact us before ordering hardware. Send the machine model, photos of the valve and cylinders, how depth or grade is currently controlled, tractor hydraulic details, and what you want the system to automate or guide.
For fields where tile is installed along elevation contours, Ditch Assist can turn an elevation surface into driveable contour guidance. Fetch a public LiDAR DEM in the app, load a DEM or point file you already have, or use a driven field survey, then pick the contour you want the tile line to follow.

Save the LiDAR DEM before you lose internet, reconnect to the control module in the field, and generate contours from the saved surface. The route you survey along the contour becomes the line you install.
Use public LiDAR where coverage is available, load a GeoTIFF DEM or XYZ point file, open a saved survey, or drive a new field survey. Once Ditch Assist has a surface, it can draw contour lines for guidance.
Contour tile layouts are commonly used where the goal is more controlled groundwater level management, and in some systems where tile may also support subirrigation. The contour line helps the operator stay on the intended elevation band while still using RTK grade and depth control.
Whichever kit you buy for tiling — Full Automation or Guidance Only — unlocks every other surface workflow in the Ditch Assist app. No extra cost, no per-mode activation. Tile in the spring, surface drains in the fall, terraces or a bin pad next season — same kit, same tablet, same operator.
Surface drainage runs — survey, design with Slope-IQ™, auto-grade. Curved, multi-grade, long-run.
See Ditching → Mode 02Simple Maintenance uses one survey. Standard Terracing keeps channel + berm surveys for construction.
See Terracing → Mode 03Variable-slope and all-way designs from Geo-Surface™ and other popular land-forming design software, via AGD, LandXML or XYZP.
See Land Forming → Mode 04Single-slope grading or a sloped plane: type a grade percent and go, or survey first and fit one grade to the ground.
See Simple Grading → Mode 06Flat pads for grain bins, machine sheds, riding arenas, and equipment yards.
See Leveling → Mode 07Drive elevation contours for levees, paddy dikes, and contour berms — lightbar guidance with no automation valve or hydraulic plumbing.
See Levee →Operators running a pull-type or tractor-mounted tile plow — pitch, cantilever, or direct raise/lower hydraulics — who want RTK depth and grade control plus Automatic Rock Hit Recovery on a Tile-Best-Fit design.
Excavator bucket guidance — see Excavator and DIG™. Surface-only grading with no tile — see Ditching or Land Forming.
Answers for farmers and contractors comparing RTK tile drainage systems.
Tile plow grade control uses RTK GPS elevation and hydraulic control to keep the boot on the designed pipe profile while installing tile uphill from the outlet with a pull-type or tractor-mounted plow.
For many RTK pull-type and tractor-mounted tile plow jobs, yes. You survey the run, let Ditch Assist calculate the profile and Required Start Depth, then install from the outlet with RTK grade control instead of setting and moving a laser tripod.
In Tiling mode, the Descent Governor eases the plow back down to grade instead of letting it dive. RTK sets the grade at the cutting edge for the whole run — Ditch Assist mounts the GPS right where the plow cuts — and Tile-Best-Fit designs every run on positive grade from the start. Automatic Rock Hit Recovery covers the other side: if the plow rides up over rock, it raises the target instead of chasing it back down. No pitch sensor or extra module to mount, wire, or recalibrate.
Automatic Rock Hit Recovery is a Tiling-only feature. When rock, hardpan, frost, old tile, dense subsoil, or another obstruction keeps the plow above target, Ditch Assist detects sustained upward deflection and automatically nudges the target up by the measured error. The correction is bounded for safety and announced with a Rock Hit alert and sound.
Yes, if the valve is compatible. A plow with a compatible factory PWM valve, like the Soil-Max Stealth ZD, can be driven by the Ditch Assist Guidance Only Kit, so it does not need the Full Automation Kit plumbing package. Most plows don't have one; contact us to confirm yours.
Ditch Assist is designed for pull-type or tractor-mounted tile plows that control depth with pitch, cantilever, or direct raise/lower hydraulics. We review Johnson, LaSole, Liebrecht, Legacy, Crary, Baumalight and similar plows for valve and cylinder requirements before quoting. Other hydraulic equipment may also be possible, but it is a custom review.
Yes. The Full Automation Kit and the Guidance Only Kit both run Tiling and every surface workflow — ditching, terracing, land forming, pads, levees, and single-slope grading — with no per-mode activation. Tiling adds Tile-Best-Fit design, Descent Governor dive protection, and Automatic Rock Hit Recovery; move the kit and the same tablet runs your surface drainage next. Ditch Assist Lite runs Tiling and every other mode too, as guidance: you raise and lower the plow yourself to the target on the screen.
Yes. Ditch Assist works with any compatible RTK GPS cabled to the kit's control module. If you are starting from scratch, ask about the affordable Emlid Reach RS3 or RS4 bundles.


Add the Ditch Assist DIG™ Kit as a separate excavator kit for bucket-tip elevation, trench design, and dug-earth mapping. It runs in the same Ditch Assist app, so an operator who knows it from the tile plow doesn't have to learn a different one.
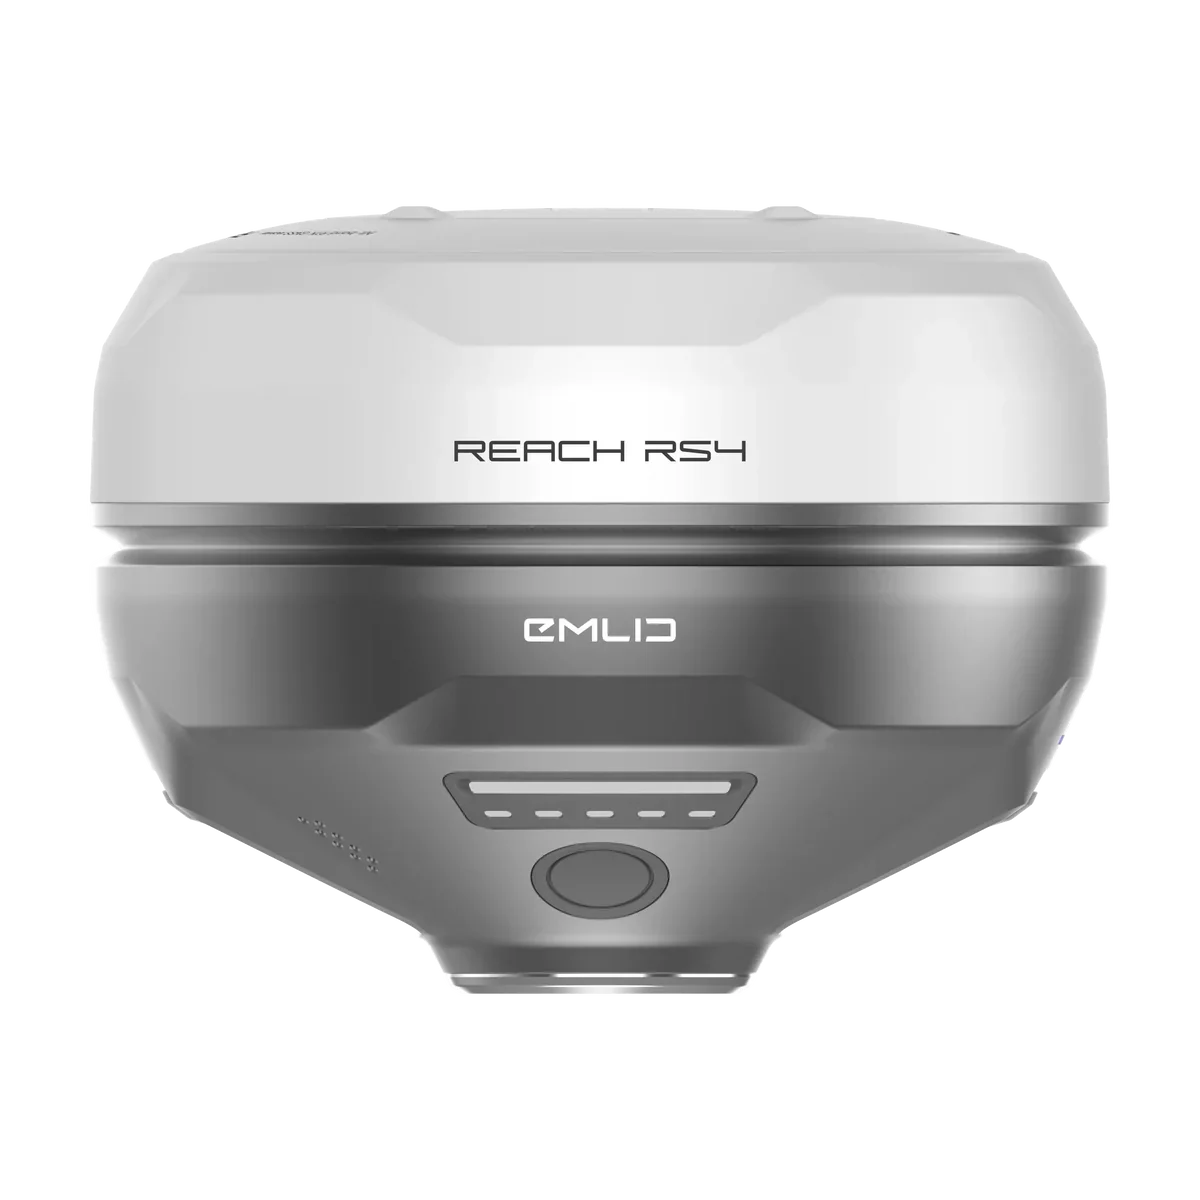
Tiling needs reliable RTK elevation for the survey, Required Start Depth, and boot-grade target while the plow installs uphill from the outlet. Bring existing RTK, or bundle Ditch Assist with Emlid RS4 / RS3 receivers and the Ditch Assist-only install package: base tripod, tripod extender, mount hardware, and Ditch Assist-to-Emlid RTK GPS cable.
Walk through the Tiling workflow yourself: Tile-Best-Fit design and Required Start Depth grading, all in your browser.