Grain bin pads
One flat base under the ring, with no low spot holding water against the bin wall.
Ditch Assist turns centimeter-level RTK positioning into grade control and guidance for field machines — one kit, one Android tablet, any compatible RTK source. Leveling is an included workflow. Buy the kit for this job and every other implement workflow comes with it — surface drainage, terraces, tile drainage, land forming, single-grade work, levees — at no extra cost, no per-mode activation. Running a dozer or self-propelled scraper? Ditch Assist Lite runs Leveling as on-screen guidance with only a GPS on the blade, no wires.
Leveling is the fastest Ditch Assist workflow for a flat surface. If the job has a known elevation point, tap BM and benchmark the GPS first. Then enter the target elevation directly, or lower the implement to the desired finished height and tap Use Current.
Need the finished surface above or below the starting point? Add a Depth Offset. Once grading starts, the Grade Guide shows the implement tip against the target, the blue target line shows any temporary Nudge offset, and the coverage map turns red or green so the operator can see what still needs another pass.
Each of these jobs is one flat surface at one target elevation.
One flat base under the ring, with no low spot holding water against the bin wall.
Level the yard around outbuildings to one elevation instead of eyeballing it with a shovel.
Hold one elevation across the width of the lane so equipment tracks flat instead of leaning to the low side.
Flat base under a shop or machine shed before the slab goes down.
Grade a pen or apron to one target elevation instead of checking grade by hand with a rod.
One working surface at one elevation, with no soft low spots where water sits.
This is the in-app workflow an operator follows for flat pads, work areas, and single-elevation surfaces: run preflight checks, verify RTK and hydraulics, optionally benchmark to a known elevation, set the target elevation or offset, then use Grade Guide, Nudge, Hold, and coverage feedback to finish the surface.
Connect to the control module, confirm green GPS status and live elevation, then test Raise and Lower before starting.
Use BM when a known elevation matters, set the target manually or with Use Current, and apply Depth Offset when the finished surface should be above or below the starting point.
Watch blade elevation against target, Nudge Up for heavy cuts, use Hold for manual rough-in, and follow red/green coverage to finish the pad.
This walkthrough shows the simple Leveling workflow for creating a level pad, flat work area, or any surface that needs one consistent elevation.
The fastest leveling workflow still depends on a clean preflight. Confirm the tablet, control module, RTK GPS, and hydraulics before you capture a target elevation or start automated control. With Ditch Assist Lite there is no control module or valve: the tablet connects to the receiver’s own Wi-Fi, and there is no Raise/Lower to test.
Leveling runs with Ditch Assist working raise/lower on the Full Automation Kit, or as on-screen guidance with the Guidance Only Kit or Ditch Assist Lite. On the Full Automation Kit, use Hold when you want to move bulk material manually without fighting the valve, then release Hold for the final automated pass to the target elevation.
Run preflight, set the target elevation, start grading, and use Nudge or Hold when the cut is too much for one pass. Change Target lets you switch elevations for stepped work without leaving the mode.
Tap the Leveling card. If the job has a known elevation point, use BM first. Then enter the target elevation by hand, or lower the implement to the desired height and tap Use Current.
Use Depth Offset when the finished surface needs to be above or below the starting point. Tap Start and Grade Guide shows the implement tip above, below, or on the selected target.
If the cut is too heavy, use Nudge Up to temporarily raise the target and take a lighter pass. Use Hold for manual rough-in, then release Hold for the final automated pass. Red areas still need work; green areas have reached target.
Tap Change Target to switch to a new finished elevation for a stepped pad or another flat area. When the project is done, press Stop so Ditch Assist ends and saves the grading operation.

The map that shows what has reached target and what still needs work.
Most pad jobs end with a tape measure, a rod, and someone asking whether the whole footprint is actually flat. The Ditch Assist coverage map answers that visually. Areas that have not reached target show red; areas that have reached target show green, so the operator can decide where the next pass belongs without stopping for constant rod checks.
Every pass writes current RTK elevation to the map. You see where the machine has been and whether that part of the pad has reached the selected target.
Red means the area has not reached target elevation yet. Green means the pass reached the target, making unfinished sections easy to spot from the cab.
When the working area is uniformly on target, press Stop. Ditch Assist ends the grading operation and saves the job so the operator can return to the main menu or start another leveling job.
When the final target is too deep for one pass, Nudge Up temporarily raises the target so the machine cuts less. Hold pauses hydraulic commands while keeping guidance visible for manual rough-in. Then release Hold and nudge back down to finish at the real elevation.
Leveling is intentionally simple: one target elevation is the whole design. Nudge changes the current target as an offset, and the blue target line makes it clear when the operator is temporarily cutting above or below the final elevation.
Enter the known elevation, benchmark with BM if needed, or capture the current blade elevation with Use Current. That single number becomes the final target for the flat pad.
Tap Nudge Up when the cut is too much for one pass. The target rises temporarily so the machine cuts less, and the blue target line shows that temporary target above the final elevation.
Use Hold for manual bulk material removal when needed. For the finish pass, release Hold, nudge back down to the final target, and grade until the coverage map is green.
Pad construction usually splits across two phases — bulk earth-moving with a pull-type scraper, then finish work with a land leveler or hydraulic blade. Ditch Assist runs both; pick yours below for setup and compatibility details. Building the pad with a dozer, a self-propelled scraper or any machine you can put a GPS on? Ditch Assist Lite puts only a GPS on the blade: keep the blade at the same angle and work the controls following the cut/fill on the screen.
Pull-type scrapers carry the bulk earth-moving phase of a pad — useful when the site needs serious cut from the high side or significant fill brought in. Both the Full Automation Kit and the Guidance Only Kit add RTK GPS grade control to any hydraulically operated pull-type scraper. The Full Automation Kit drives the raise/lower hydraulics automatically — PWM valve, hoses, fittings, and a manual-bypass circuit all included. The Guidance Only Kit gives live on-screen on-grade feedback so the operator works the existing hydraulics manually — control module and harness only, no plumbing — and you can add our valve later to make it the Full Automation Kit. Ditch Assist Lite is the lowest-cost way to run Ditch Assist on a scraper: only a GPS on the implement, no wires. An Emlid Reach RS3 or RS4 sends its position to the tablet over its own Wi-Fi, and you work the hydraulics to the arrows on the screen. Ditch Assist Lite has no upgrade path; automating later means buying the Full Automation Kit at full price, with no credit for Ditch Assist Lite.
The Min Valve DC and Max Valve DC (duty cycle) settings in the Ditch Assist app tune hydraulic responsiveness for typical scrapers used across Western Canada and the Northern U.S. Turn up DC for larger units, down for smaller. Optional high-flow valve spool upgrades are available for extra-large scrapers — contact us to discuss your specific needs.
Because the kit is portable and mounted on the implement (or tractor), it is easy to switch between tractors throughout the day. Wi-Fi from the control module to the cab means minimal wiring — drop the kit on a different tractor and be back on the pad in as little as 20 minutes.
Nudge and Hold make scraper work practical when the final elevation is too deep for one pass. Nudge Up to raise the temporary target, use Hold for manual rough-in if needed, then return to automation for the finish pass while the red/green coverage map fills in.
Ditch Assist works with any compatible RTK GPS. If you need an affordable option, ask us about an RTK bundle.
Land levelers are the finish-work specialist on pad construction — their broad cut and even weight smooth a pad to dead flat in fewer passes than a smaller blade, and the long wheelbase holds a steady line under automated raise/lower control. Both the Full Automation Kit and the Guidance Only Kit add RTK GPS grade control to any hydraulic land leveler. The Full Automation Kit drives the raise/lower hydraulics so the leveler tracks the target elevation automatically; the Guidance Only Kit displays live on-grade feedback while the operator works the hydraulics manually, and can take our valve later to become the Full Automation Kit. To run Ditch Assist at the lowest cost, Ditch Assist Lite guides the same levelers with only a GPS on the implement, no wires. It has no upgrade path: automating later means buying the Full Automation Kit at full price, with no credit for Ditch Assist Lite.
Ditch Assist works with the raise/lower function only. Tilt and side-wing functions stay manually operated. For tilt-capable units, keep the tilt angle constant from setup through to grading — changing it mid-job shifts the GPS height offset and pulls the leveler off the target elevation.
Each pass of a land leveler covers a wide strip of the coverage map, so you can see quickly which parts of the pad are still red. Finish when the whole footprint shows green.
Wi-Fi from the control module keeps the cab clean and allows fast machine swaps. Works with any compatible RTK GPS, or start with one of our affordable RTK bundles.
Hydraulic blades and pull-type dozer blades suit pad work where tight depth control matters — small pads, awkward access, and the final finish passes. Both the Full Automation Kit and the Guidance Only Kit add RTK GPS grade control to these blades. Ditch Assist Lite guides the same blades with only a GPS on the implement, no wires, while you work the hydraulics. It is the lowest-cost way to run Ditch Assist, but it has no upgrade path: automating later means buying the Full Automation Kit at full price, with no credit for Ditch Assist Lite.
The Full Automation Kit drives the existing hydraulics automatically — PWM valve, hoses, fittings, and a manual-bypass circuit all included. The Guidance Only Kit gives on-screen on-grade feedback while the operator works the hydraulics manually — control module and harness only, no plumbing. Add our valve later and it becomes the Full Automation Kit.
Either way, Ditch Assist works with the raise/lower function only — tilt and side-wing functions stay manual. Keep the tilt angle constant from setup through to grading; changing it alters the GPS height offset and pulls the blade off the target.
Nudge gives the operator temporary target offsets for rough-in and finish passes. Use Hold when you want manual hydraulic control with guidance still visible, then finish to the final target and watch the coverage map turn green.
Wi-Fi from the control module keeps cab wiring minimal and allows fast machine swaps. Works with any compatible RTK GPS; ask about our affordable RTK bundles.
Whichever kit you buy for Leveling — Full Automation or Guidance Only — unlocks every other implement workflow in the Ditch Assist app. No extra cost, no per-mode activation. Bin pad in the morning, surface drain in the afternoon, a terrace next week — same kit, same tablet, same operator. Ditch Assist Lite, with only a GPS on the implement and no wires, runs every one of these modes too, Tiling and Land Forming included, as guidance: you work the controls. It has no upgrade path: automation later means buying the Full Automation Kit at full price, with no credit for Ditch Assist Lite.
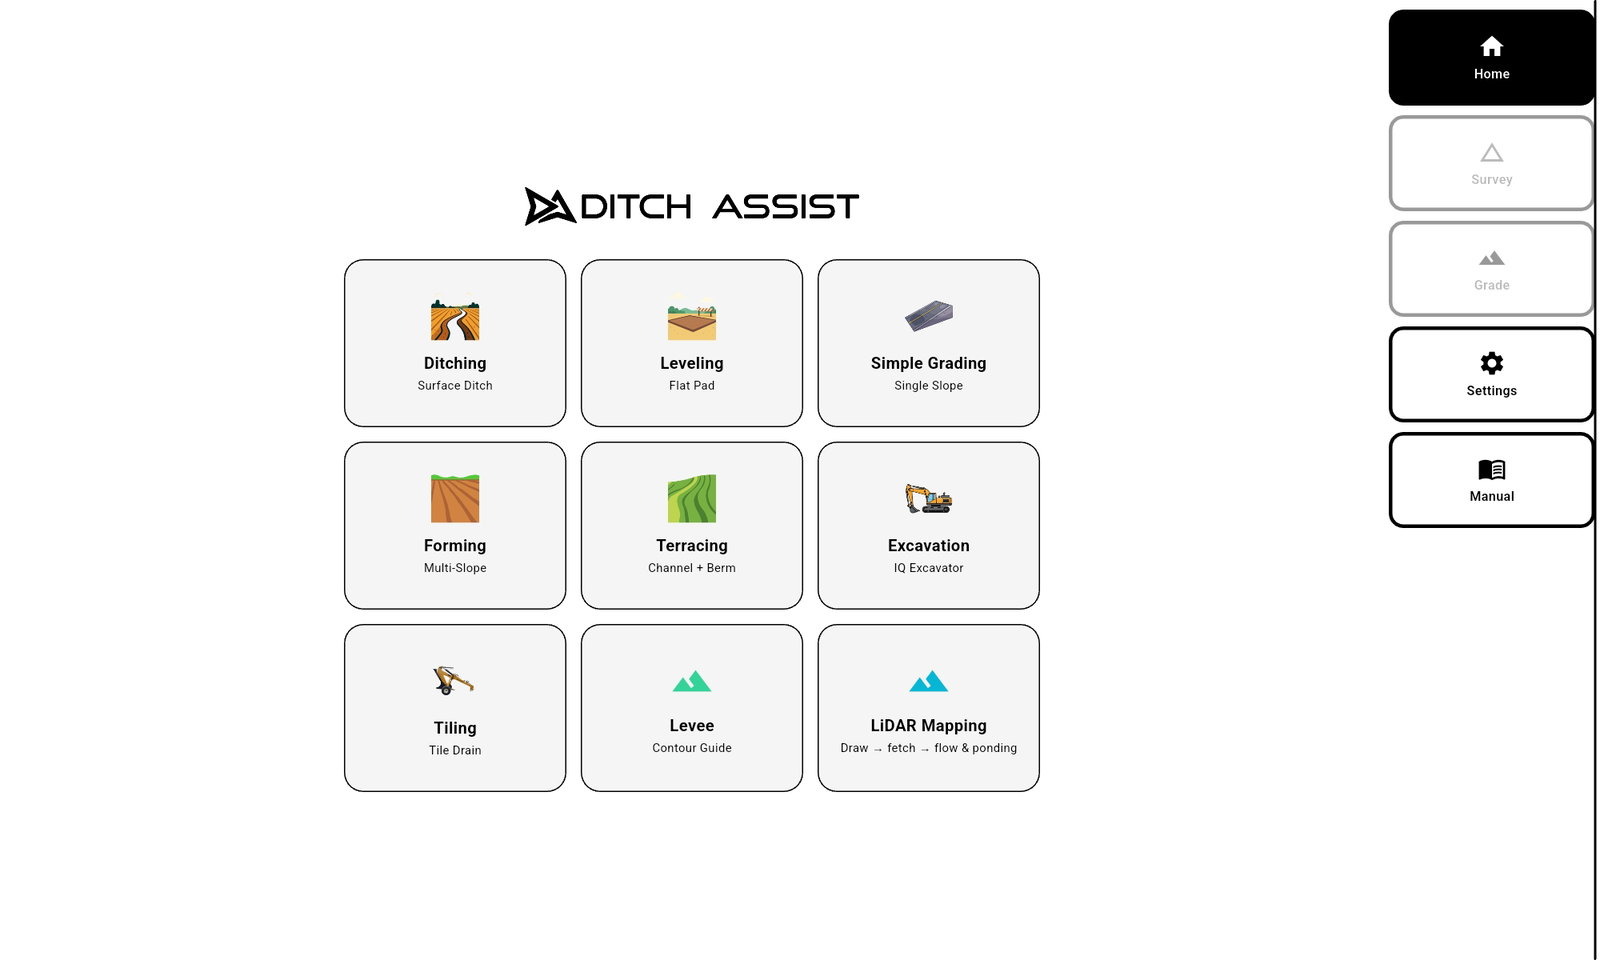
Surface drainage runs — survey, design with Slope-IQ™, auto-grade. Curved, multi-grade, long-run.
See Ditching → Mode 02Simple Maintenance uses one survey. Standard Terracing keeps channel + berm surveys for construction.
See Terracing → Mode 03Variable-slope and all-way designs from Geo-Surface™ and other popular land-forming design software, via AGD, LandXML or XYZP.
See Land Forming → Mode 04Single-slope grading or a sloped plane: type a grade percent and go, or survey a centerline first and fit one grade to the ground.
See Simple Grading → Mode 05Sub-surface tile drainage with depth-constrained design and Automatic Rock Hit Recovery.
See Tiling → Mode 07Drive elevation contours for levees, paddy dikes, and contour berms — lightbar guidance with no automation valve or hydraulic plumbing.
See Levee →
Operators leveling a single flat surface — grain-bin pads, farmyard pads, lanes, shop pads, feedlot areas, equipment yards, riding arenas, and other lay-down areas.
Jobs that need a constant slope — that is Simple Grading. Jobs with a variable-slope or 3D design — that is Land Forming.
Answers for farmers, contractors, and builders comparing RTK GPS leveling, laser leveling, land leveler grade control, and scraper control for pad work.
Leveling grades to one fixed target elevation. Use it for grain-bin pads, machine-shed pads, shop floors, equipment yards, riding arenas, lay-down areas, and other flat surfaces.
For many flat pad jobs, yes. Instead of setting a laser tripod and checking grade with a rod, the tablet uses RTK GPS elevation to guide or control the implement.
Yes. Drive to the finished-height reference and tap Use Current. If you are working from a surveyed benchmark or datum, use BM to calibrate the benchmark first or enter the target elevation directly.
Yes. Nudge works in Leveling and offsets the current target elevation. Use Nudge Up to take lighter rough-in passes, then nudge back down and finish at the final elevation.
Use Leveling when the surface is flat. Use Simple Grading for one slope or a 0% surveyed plane when you want design tools, cut/fill context, or volume-style planning.
No. Leveling has one fixed target elevation, so there is no staged design to advance. Use Nudge and Hold to manage rough-in passes before finishing at the final target.


Add the Ditch Assist DIG™ Kit, a separate kit for excavators and backhoes: bucket-tip elevation, trench design, and dug-earth mapping. It runs in Excavator mode of the same Ditch Assist app you use on the implement.
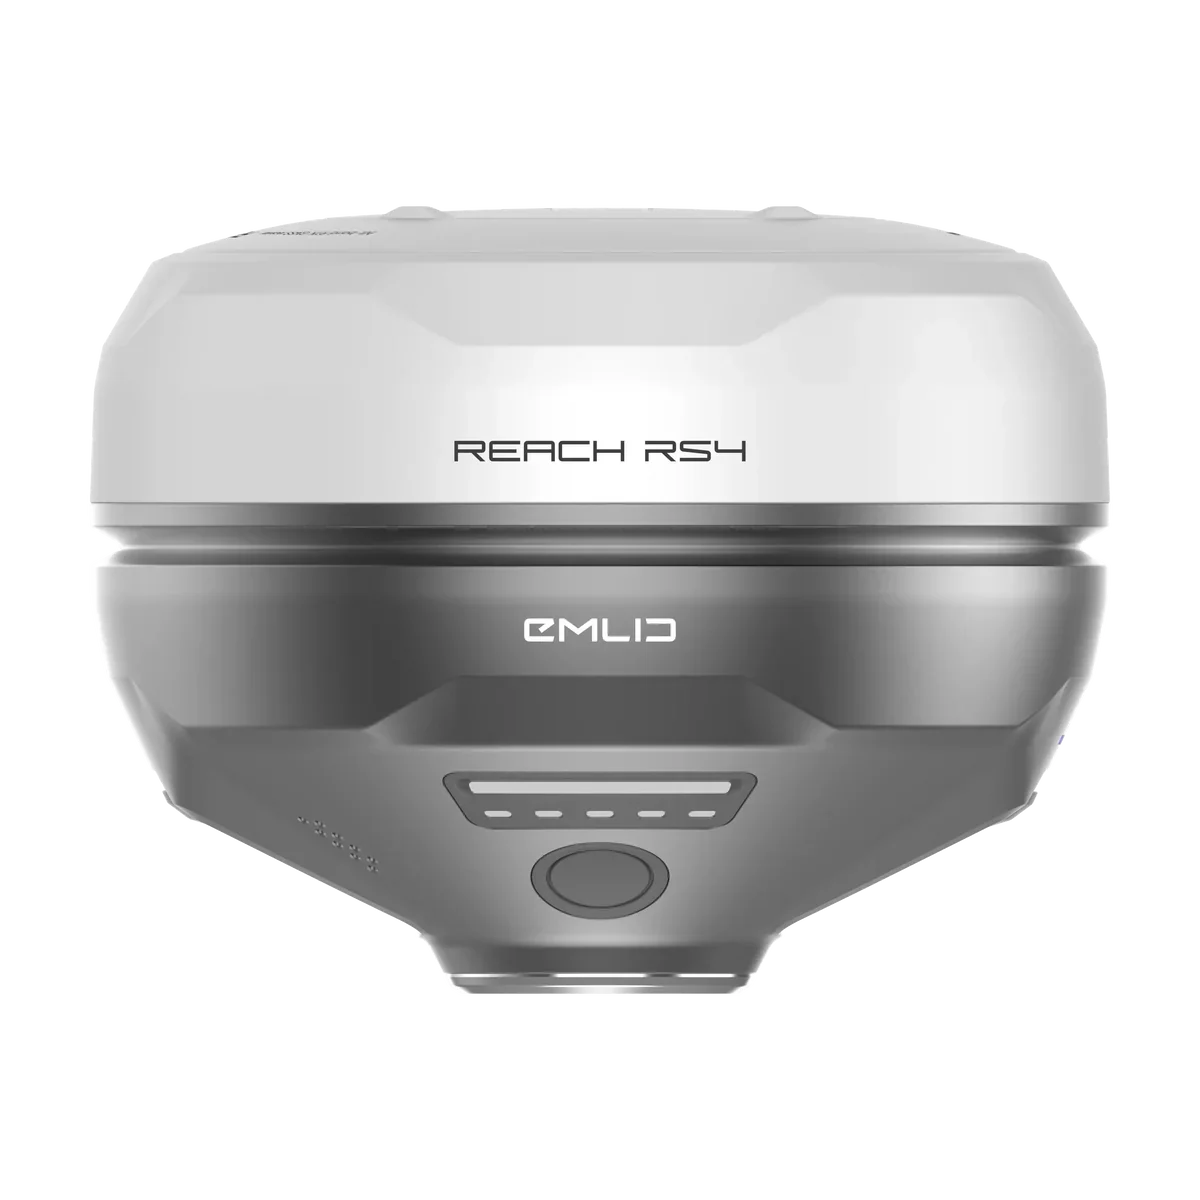
Leveling holds one fixed elevation across the pad, so receiver height, benchmark setup, and RTK stability matter. If you do not already have RTK, the Ditch Assist-only Emlid bundle can include RS4 / RS3 receivers, base tripod, tripod extender, mount hardware, and the Ditch Assist-to-Emlid RTK GPS cable. Ditch Assist Lite needs only a GPS on the implement, no wires: an Emlid Reach RS3 or RS4 on the machine. RTK corrections usually come from a second Reach as a base, or from a correction network over the receiver’s SIM.
See the Leveling workflow live: benchmark setup, target elevation, and coverage tracking, all in your browser.